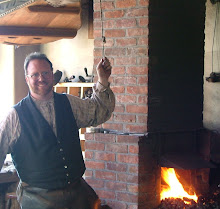
One of the pleasures of blacksmithing is the ability to make new tools as needed. We needed some bottom swages for use in the anvil to complete a current project. We made them as needed. This is just one way to make them, as it suited the tools available in our traditional shop.
Start with a piece of steel with enough mass for the tools. In this case we used a piece of steel cut from a hammer head. Square it to the desired size and start the job.
Any tool used in the anvil needs a square stem to hold it in place in the square Hardy hole of the anvil. We achieved this by fullering the piece down to the desired size using a handled fuller, a striker with a sledge hammer, and the anvil.
Fullering the hardy stem:
Once the hardy stem is done, it is time to shape the working end. The face of the tool is taken to a forging heat, placed in the hardy hole, and the appropriate sized groove sunk into the face by driving a tool into the hot steel.
Sinking the die impression:
We cleaned up the forged die with a rasp (file) while it was still hot.:
Then we examined the die for problems or areas that need more work:
Here is the finished die and one of the collar pieces it was created to shape:
Some projects require making more tools than others. Our ongoing weathervane project has led to the making of custom tongs and two sizes of bottom swage tools for the anvil. Now that we have these tools, it expands the options of tools that can be used for future projects.


